So, you’ve made the decision to get permanent makeup – you have researched your practitioner and probably looked at hundreds of images on Pinterest, Instagram and TikTok to find the perfect shape, shade and look. You will be investing in this decision and want to make sure you get the best out of the treatment both with results and to make it last as long as possible.
What do I need to do before permanent makeup?
This will of course depend on the treatment you are having but we have put together the following guide to help you manage the outcomes
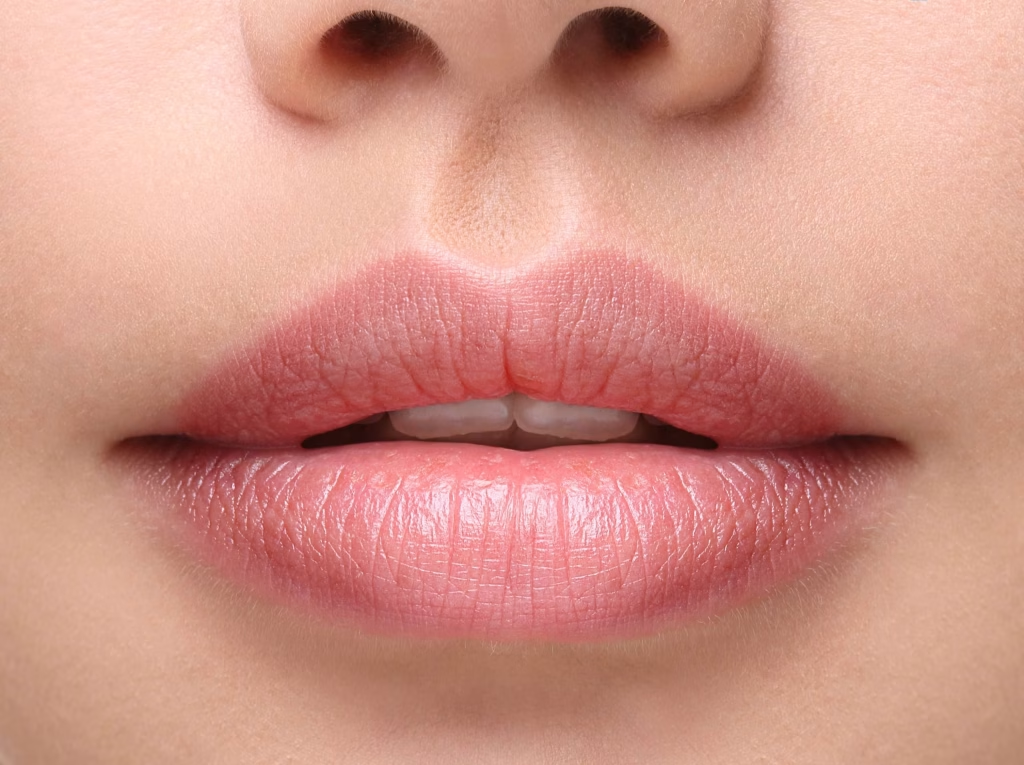
What to do before a Lip Blush/Lip Neutralisation?

The key here is to prepare the lips so that the ‘canvas’ is in the best shape possible, almost like getting ready to paint a wall – you don’t want that wall to be full of cracks and chipped paint! The same goes for lip blush, if your lips are super dry and flaking then it’s really difficult to get the pigment to adhere, we ideally want nice hydrated, smooth lips
We recommend the following steps:
- If you have experienced cold sores in the past then please do take anti-virals ahead of your appointment to avoid any breakouts.
- Do not drink alcohol heavily the day before and do not take any painkillers on the day.
- The treatment is really comfortable but we recommend not booking if you are pre-menstrual, women are generally 30% more sensitive in the days before their period.
- Exfoliate the lips the day before. You can do this by mixing sugar and almond oil and gently rubbing across the lips, leave on for a few minutes and rinse off. If you prefer a prepared version then we love Burts Bees Lip Exfoliator
- Apply a night mask for the lips or very hydrating balm, the Laneige Sleeping Mask now has a cult following and for good reason! Can be used overnight or as a regular balm
- If you prefer a regular ‘apply all day’ balm then the Elizabeth Arden 8 Hour Balm is hard to beat
- Make sure that you are well hydrated on the day and that you don’t have any facial treatments booked for the following week, please leave 4 weeks after dermal filler.
You can read our full FAQ Lip Blush/Lip Neutralisation here
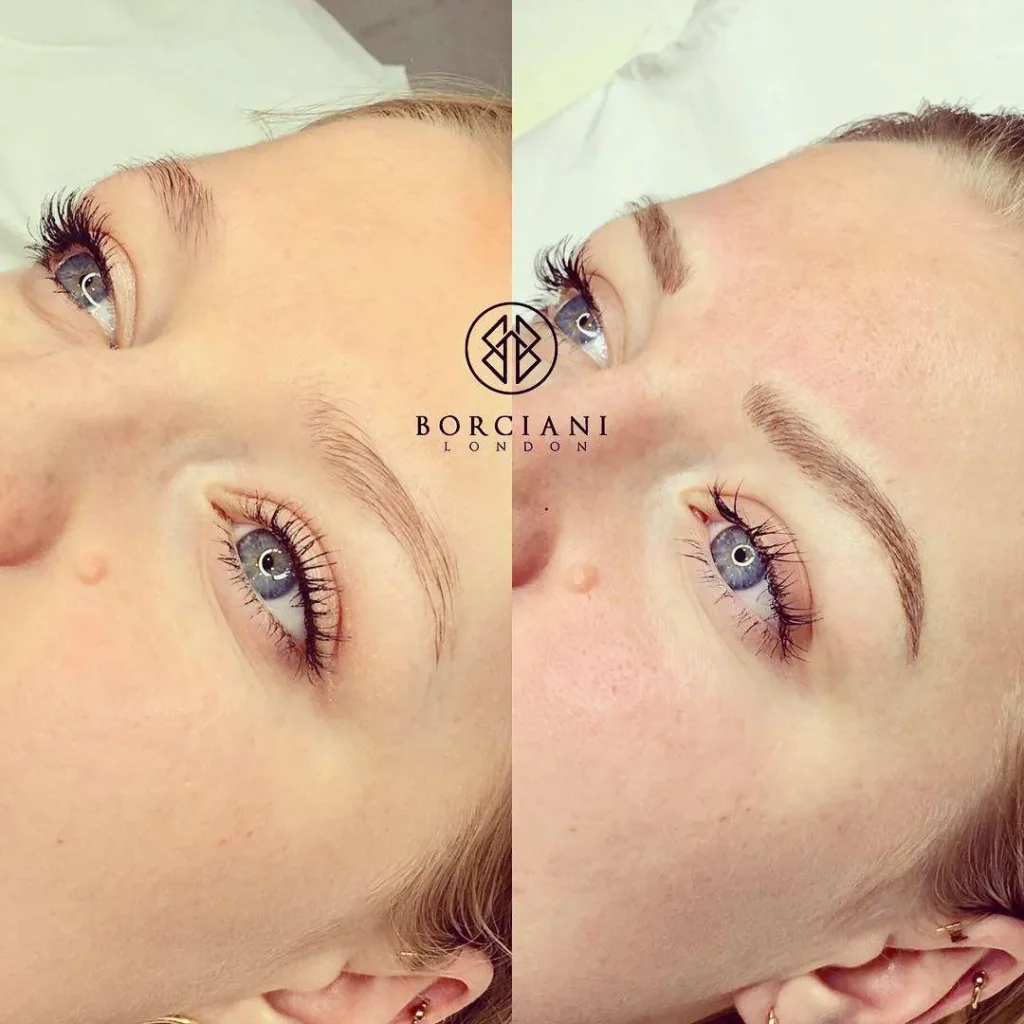
How do I prepare for a Brow Tattoo/Microblading?
We want your brow treatment to last as long as possible and for the practitioner to be able to give you crisp strokes or an even wash of colour.
We want the skin to be non-reactive so please avoid andy retinols/active skincare for a week before your treatment.
- Please leave a minimum of 2 weeks before and after botox (ideally do the brow treatment before the botox
- If you tint your brows then please leave 1 week after your last tint.
- Stop use of brow growth treatments that contain Latanoprost as this will impact the skin and pigment retention, we recommend the Anteage Brow Serum which is safe as it uses Growth Factors rather than Latanoprost.
- Please leave 48 hours between waxing/threading
- Do not drink alcohol heavily the day before and do not take any painkillers on the day.
- The treatment is really comfortable but we recommend not booking if you are pre-menstrual, women are generally 30% more sensitive in the days before their period.
You can read our full FAQ on brow treatments here
How should I prepare for an Eyeliner Tattoo
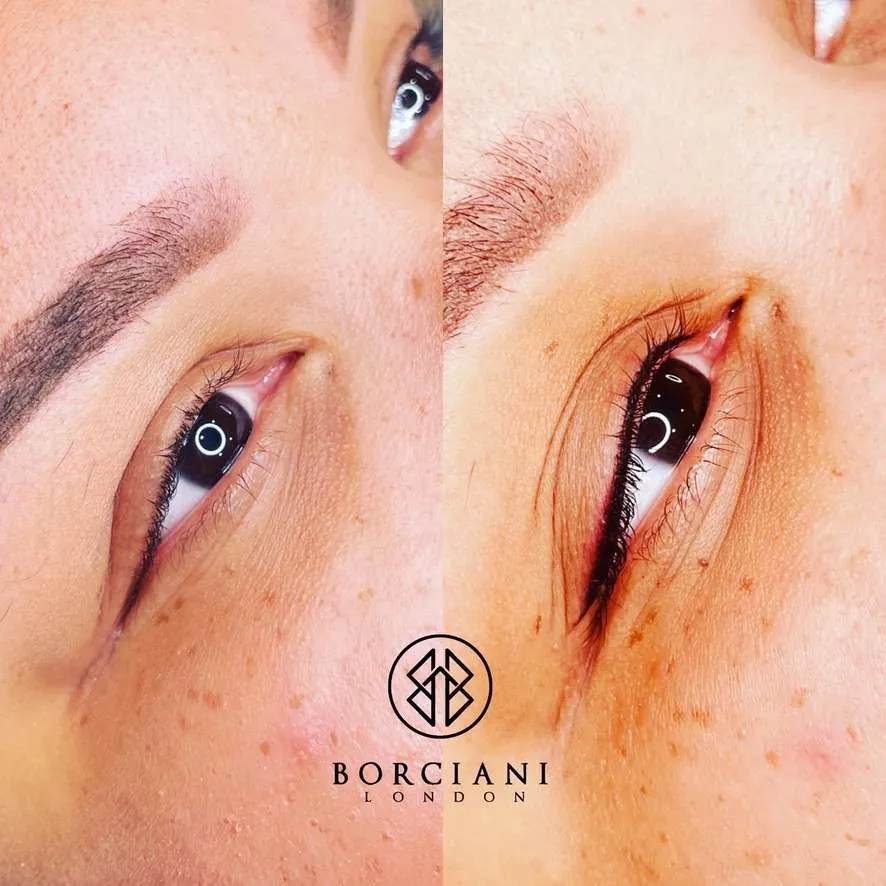
This popular treatment can last for years before you need a touch up, there are a few things that you can do to extend the life of the enhancement and protect your eyes
- Do not use Lash growth products for 3 months prior to your treatment, we recommend the Anteage Lash Growth Serum as this will not impact your treatment.
- If you wear contacts then please do bring your glasses with you as you will not be able to wear contact lenses directly afterwards.
- Keep hydrated on the day and the night before.
- Do not drink alcohol heavily the day before and do not take any painkillers on the day.
- The treatment is really comfortable but we recommend not booking if you are pre-menstrual, women are generally 30% more sensitive in the days before their period.
You can read more FAQ’s on Eyeliner Tattoo’s here
Read our full Aftercare Instructions for Permanent Makeup Here:
Aftercare Microblading
Microblading & Powder Brows
After your Procedure
The day of the treatment: Blot (do not rub) your brow with a clean tissue every 20 minutes for the first hour after your procedure to remove the lymph (bodily fluid which causes scabbing). Apply a rice grain amount of aftercare balm.
Day 2-7
Gently wash your eyebrows each morning and night with water and a gentle antibacterial cleanser, anything for sensitive skin or baby products are perfect (this will not wash out the pigment!).
Very lightly use your fingertips to gently cleanse the brow, use small circular movements for 10 seconds and then rinse with water until the cleanser has been rinsed away. Gently pat dry with a clean tissue, do not rub with a towel. DO NOT use any cleansing products containing acids (glycolic, lactic, or AHA), or any exfoliants as this will affect the pigment. Do not just use water.
Moisturise – Apply a rice grain amount of aftercare ointment 3 times a day (make sure the skin is dry). Be sure not to over-apply as this will suffocate your skin and affect the results.
Important Reminders
Use a fresh pillowcase and avoid sleeping on your face for the first 10 days Avoid direct sun exposure or tanning for 4 weeks after procedure
Let any scabbing or dry skin naturally exfoliate away. Picking can cause scarring or loss of colour No facials, Botox, chemical treatments, peels or microdermabrasion for 4 weeks
Avoid hot, sweaty exercise for one week, swimming, saunas and Jacuzzis for 1 month Avoid long hot showers for the first 10 days. ·DO NOT rub, pick or scratch the treated area. Showering
Limit your showers to 5 minutes so you do not create too much steam. Keep your face out of the water while you wash your body to avoid excessively getting it wet. Your face should only be getting wet at the very end of the shower. Avoid excessive rinsing and hot water on the treated area
You will lose between 20-50% of the pigment from the first session, be sure to book your essential control session to maintain longer lasting results.
Aftercare Lip Blush – Aftercare Lip Neutralisation
Lip Blush – Lip Neutralisation
You may experience the following post treatment:
Swelling, tenderness, flaking and itchiness as the lips heal Dry skin that may remain for up to 3 weeks, Swelling for 48 hours
Daily Care for 7 Days
Apply a healing balm for a minimum of 3 times a day using a cotton bud or clean hands. Wash your hands before applying the product and do not re-dip the cotton bud into the balm.
Apply a layer of aftercare to your lips whilst brushing your teeth.
Keep your hair away from your enhancement to prevent the possibility of infection.
Some itching is normal DO NOT PICK, PEEL OR RUB the lips as this will affect retention
Do not have skincare treatments for 5 days following the procedure, Avoid eating spicy and salty foods, no dark liquids until the skin has healed
No kissing for 5 days to prevent infection. Lipstick can be applied after 7 days
AVOID FOR 2 WEEKS
Do not expose your enhancement to direct sun, tanning treatment, Jacuzzi’s, saunas, salt water chlorinated pools and direct shower spray. Bleaching, waxing or dermal fillers in the lips
IMPORTANT NOTES
Your selected colour will be stronger and more sharply defined for 4-5 days, it will then shed away appearing as if little or no colour is present. Over the next 3 weeks, the colour will blossom into a considerably softer version of the original colour. The approximate healing period is 14 days, however this can be prolonged if your immune system is compromised, if you are generally stressed or have a poor diet. The healed results for dark lip correction are visible in 6- 12 weeks, you may experience hyperpigmentation and/or hypopigmentation during this time, please wait 10 weeks for healed results
Keep in mind that some unevenness in colour is to be expected – this is the purpose of the control visit. If you choose not to attend your control visit during the allotted times then you will be charged for further treatments if you wish to have them. Please note that some clients may be be more resistant to pigment and may require additional chargeable treatments.
Aftercare Eyeliner Tattoo
Permanent Eyeliner
Eyelash tinting / perming should be carried out no less than 2 weeks prior to your procedure
Eyelash growth serums must not be used 4 months before procedure.
Artificial lashes should be removed 1 week prior to your procedure and not applied for 2 weeks after treatment.
Do not wear contact lenses during or immediately following your procedure. You may have mild swelling after your enhancement procedure, as a safety precaution, you may wish to have someone drive you home.
You may experience the following for 14 days: Minor redness, swelling and tenderness of the eyelids. Eyelashes that stick together, particularly overnight, dryness and itching in the treated area. For the first two days disposable ice packs may be applied to reduce swelling
Daily Care for 7 Days
Dry heal for the first few days, you may apply a healing balm if you are uncomfortable or itchy during this time. Wash with a gentle cleanser if the eyes feel sticky or the lashes are stuck together.
Some itching is normal DO NOT PICK, PEEL OR RUB your enhancement as the pigment may not adhere, heal unevenly and could lead to scarring and infection.
Do not have skincare treatments for 5 days following the procedure, no make-up should be applied for 3 days, a fresh mascara must be used. Use sunglasses to protect your eyes from wind and pollution.
IMPORTANT NOTES
There is a small possibility of losing some eyelashes following the procedure, this is usually perfectly normal lash shedding and lashes will grow back as usual.
Aftercare Laser PMU Removal
PMU Laser Removal
Post Treatment & aftercare
Immediately following treatment, the skin will be red, a small amount of bleeding and/or blistering may occur and this will heal in 7-10 days
The tattoo will appear blurred and begin its fading process over the next month, some tattoos will appear darker directly after treatment, this is normal. Nearly all tattoos require multiple treatments to achieve maximal clearing and are usually scheduled every 8-10 weeks.
Mild swelling, redness and tenderness are normal for up to one week.
Over the following days blisters may form followed by a scab or thin crust. Any scabs or crusting should be allowed to fall off on their own. The underlying skin will remain red for a few days to several weeks. Showering/bathing is permitted after 24 hours. Gently pat the area dry, do not rub with a towel or washcloth as this may disrupt the crusting/scabbing process.
Do not apply make-up until all treated areas are dry and healed.
Protect your skin from the sun for the first 2 weeks following treatment. Use sunblock for 8 weeks after treatment.
If the treatment area shows signs of infection- profound redness, pus, swelling or tenderness, medical attention must be sought immediately.
Side effects
All of the following are side effects of laser treatments that may be encountered:
Discomfort: some moderate discomfort is felt during treatment. The sensation is similar to snapping the skin with a rubber band. Some areas are more sensitive than others.
Purpura: the area may appear to be bruised with a grey or purple colour after treatment. This discolouration will fade over the next 5 – 7 days. This is more common after treatment with the 532nm wavelength which is used to treat reddish hued pigments
Blisters/ scabs/ crusting: these are relatively common following tattoo treatment. They usually take 7 to 14 days to heal.
Hyper/hypo pigmentation: skin can develop temporary lightening or darkening after laser treatment. Pigment changes can be worsened with sun exposure. Hypo pigmentation usually occurs after multiple treatments. Changes in pigmentation usually last 2-6 months but in rare cases can be permanent. Swelling: swelling following treatment is common, but will subside in 2-5 days and can be reduced with regular ice application.
Infection: despite good wound care, pain, swelling, oozing and fever can indicate the development of an infection. In this case, topical or oral antibiotics may be necessary.
Scarring: a scar may form any time the skin is disrupted but it is rare following laser treatment. Good post treatment care, such as keeping the area clean, not picking crusts and being watchful for signs of infection will reduce the possibility of this occurring.
Persistence of permanent makeup, scalp or body art tattoo: complete clearance of the pigment or ink is not always possible.
Allergic reaction: on occasion, when tattoo ink antigens are released into the circulation, localised or systemic allergic reactions can occur.
