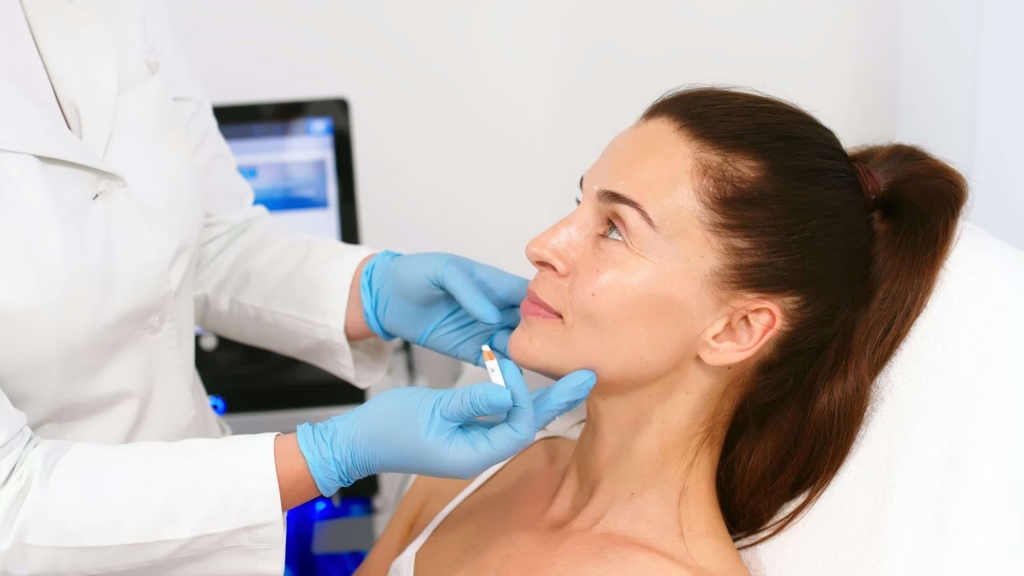
Your professional guide to concealing downtime post-treatment
How to cover bruises, redness and marks — safely
Introduction
After cosmetic treatments, it’s normal to notice temporary redness, swelling or bruising. These are part of healing, yet they can make you feel self-conscious while you recover.
At Borciani London we focus on beautiful outcomes and mindful aftercare. The guidance below shares safe, expert-backed ways to camouflage discolouration — always after your practitioner has cleared you to apply makeup. We have included both some advice and tips on how to minimise downtime and also our recommendations for products to accelerate healing and cover.
Always follow your practitioner’s aftercare
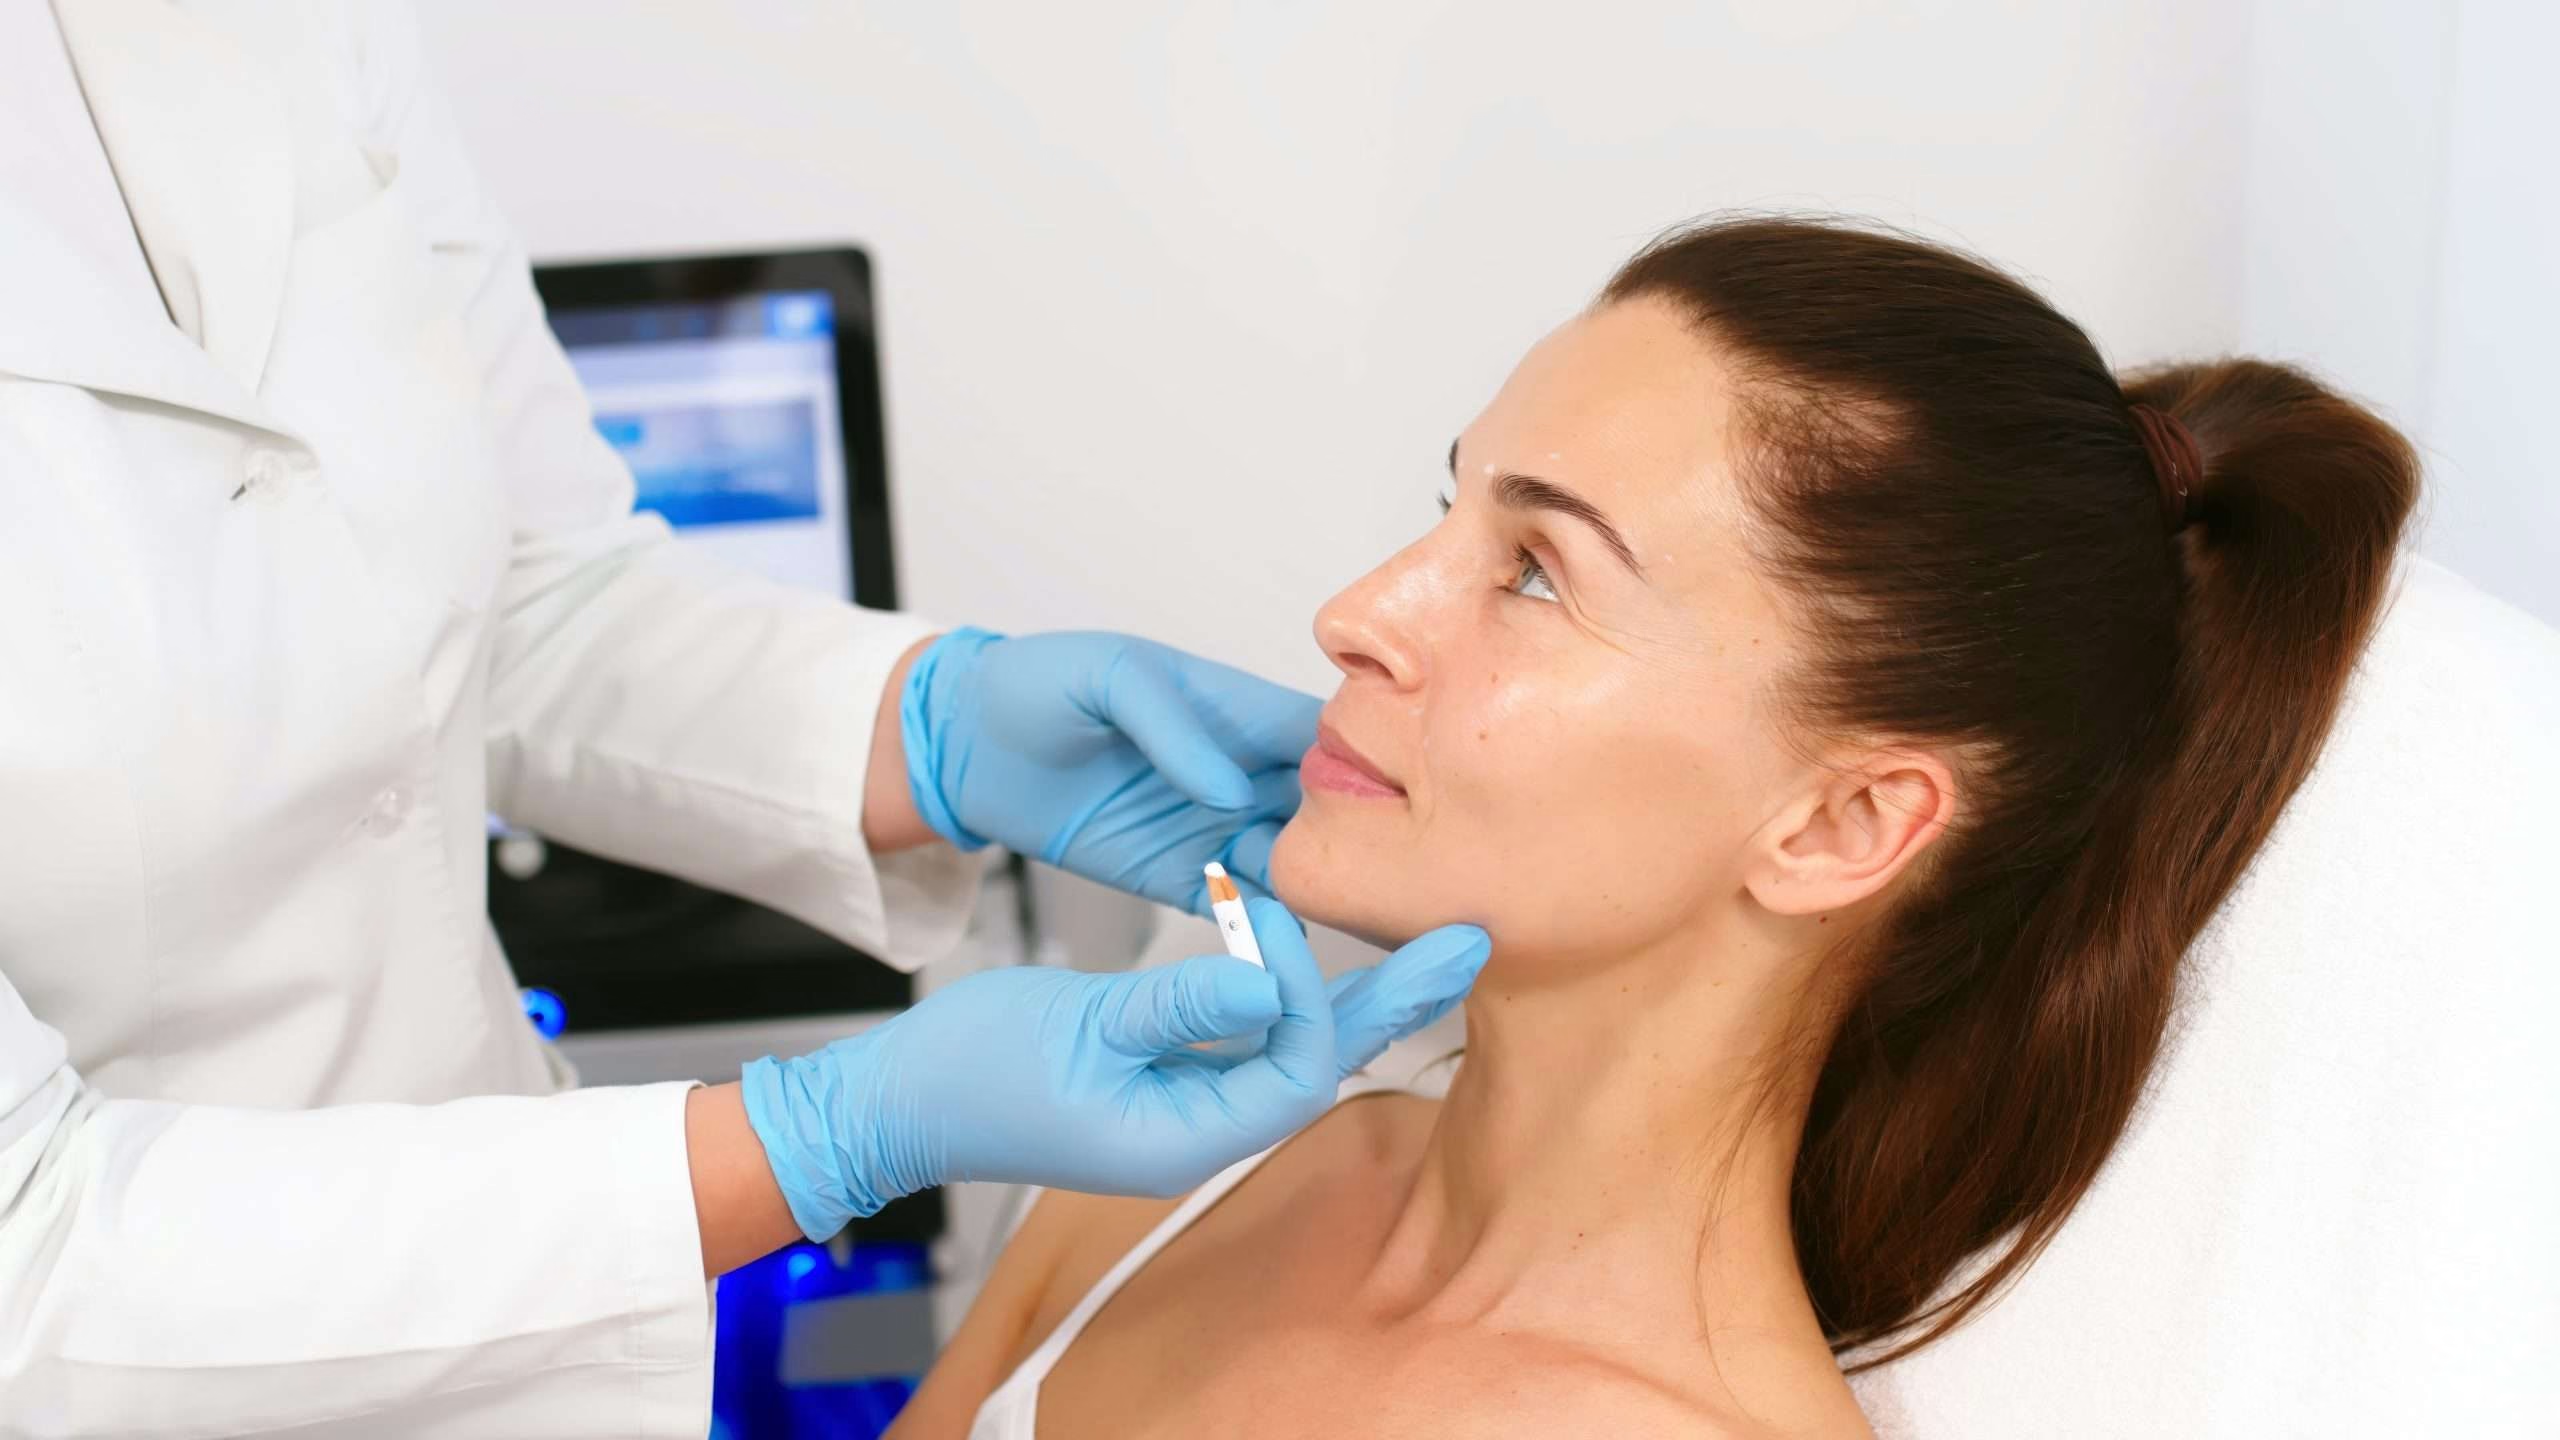
Confirm with your practitioner when makeup is safe. Applying products too early can delay healing or cause irritation. The tips below apply only to intact skin that has been cleared for cosmetic camouflage.
- Wait for explicit approval before using any makeup.
- Avoid actives (retinoids, acids, vitamin C) until you’re told to restart.
- Choose fragrance-free, gentle formulas.
Which treatments have the most downtime?
CO2 laser (ablative or fractional)
This powerhouse laser resurfaces the skin and can produce redness and swelling. Fully ablative settings may require weeks to months of visible downtime; fractional is typically shorter at 2–7 days (according to Deka)
RF microneedling
Devices such as Morpheus typically carry ~7–10 days of downtime with redness, swelling and visible treatment marks.
Injectables
Dermal fillers: especially in vascular or mobile areas (e.g., lips) can cause noticeable bruising and swelling for 2–7 days.
Anti-wrinkle injections: may leave small pinpoint bruises at injection sites.
Downtime varies: light peels may cause minor flaking for a few days; medium/deep peels can peel visibly for ~7–10 days.
Usually minimal downtime. Some clients may experience transient redness or mild bruising.
Deeper settings can lead to redness and inflammation that typically settle within a few days.
How to cover bruises safely
Do not apply makeup immediately
Avoid makeup for the first 24 hours — or until your practitioner confirms it’s safe. Bruises change colour as they heal; correct them with targeted colour theory.
To minimise bruising after treatments
- Apply firm pressure immediately (if advised).
- Use a cold compress for 10 minutes each hour for the first few hours.
- Keep the area elevated; avoid heat, alcohol and massage.
Phase 1: Immediate (red to deep red)
Fresh bruises look red (oxygen-rich). Avoid makeup on day one. When cleared, apply only to intact skin.
Phase 2: Days 2–4 (deep red, purple or blue)
Deep red: use a cool-leaning green corrector sparingly.
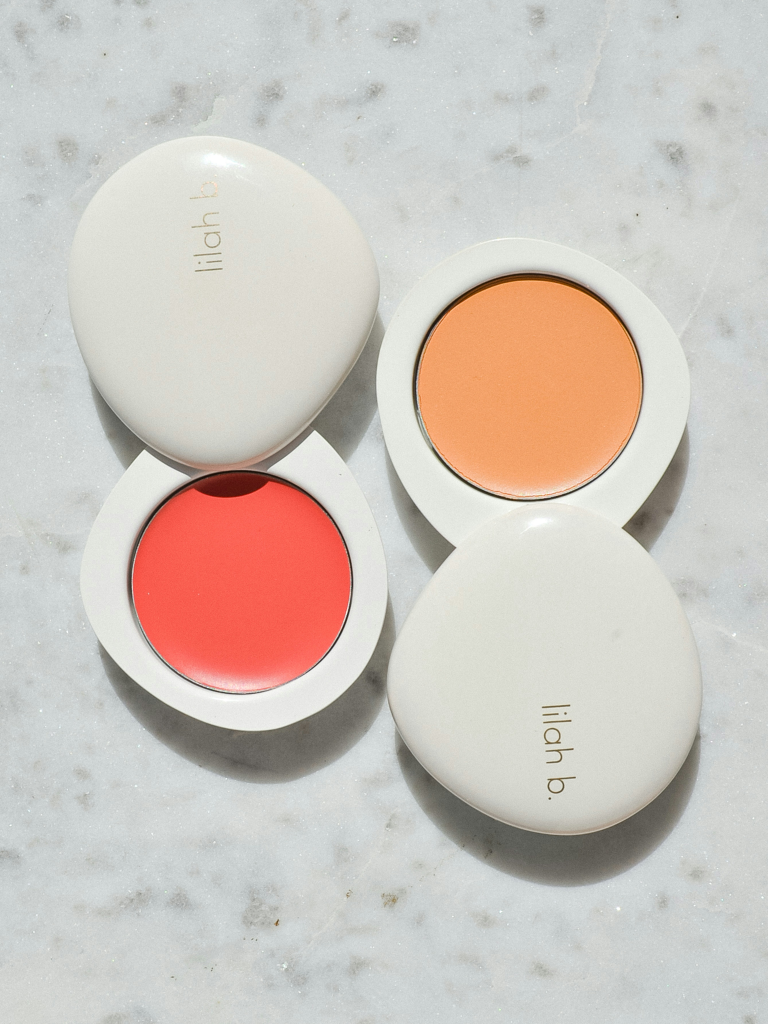
Purple: peach/orange corrector (lighter peach for fair skin; deeper orange-peach for medium to deep skin).
Blue: peach/orange corrector adds warmth.
Technique tip: work in thin layers and tap — don’t swipe. Lightly set with translucent powder if approved.
Phase 3: Days 4+ (green to yellow)
- Green: counter with a rosy pink corrector.
- Yellow: usually minimal correction — your regular concealer often suffices. On very fair skin, a sheer lavender corrector can help.
Complete coverage isn’t always realistic; aim for natural softening that blends with surrounding skin.
Covering bruises on the body
- Choose transfer-resistant body or leg makeup.
- Apply thin layers; allow each to dry before the next.
- Lightly set with powder if approved.
- Avoid tight clothing over healing areas.
Concealing redness and post-laser texture
Neutralising redness
Once cleared (often after 24 hours), use a sheer green-tinted primer sparingly to reduce overall pinkness — too much can look ashy.
Managing texture and dryness
- Mineral/powder foundations often sit better over post-laser dryness.
- Press or roll with a dense brush; avoid aggressive buffing.
- If using liquids, mix a drop of approved bland moisturiser and pat with a damp sponge.
- Avoid fragrance, shimmer, scrubs and actives until advised.
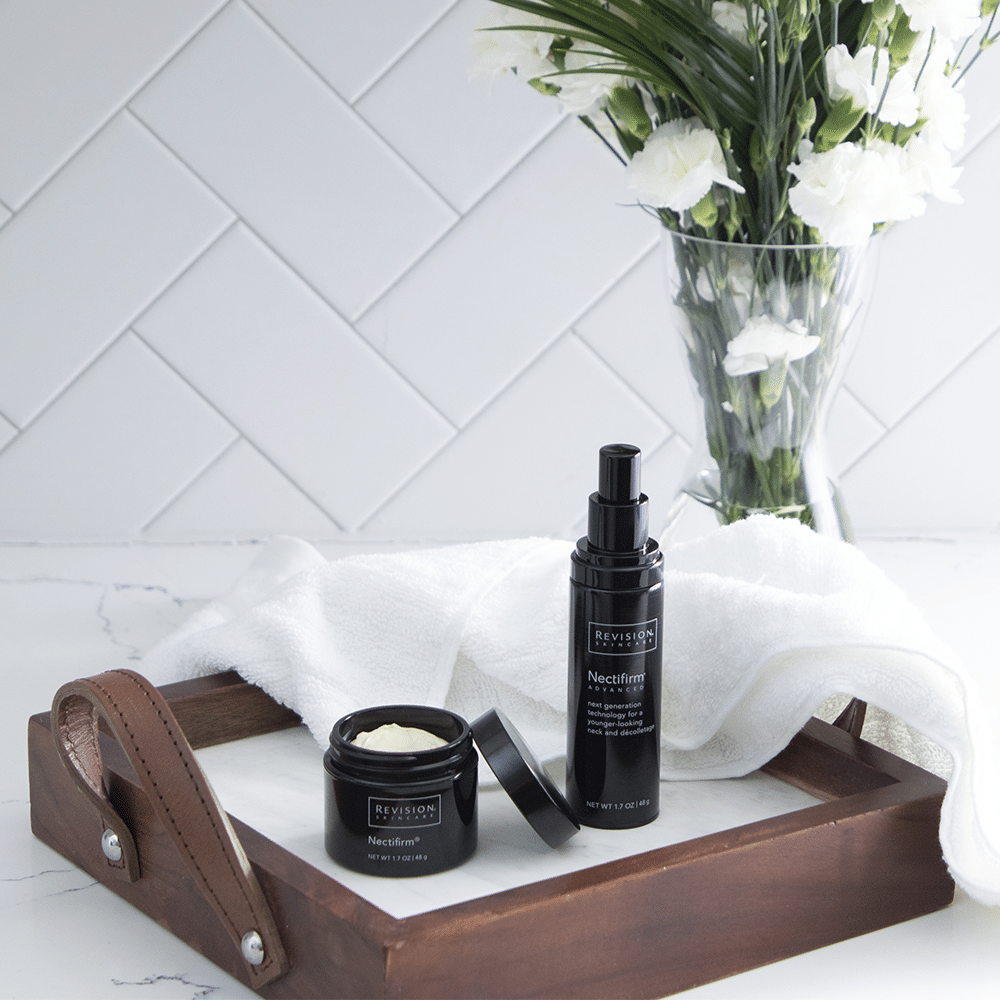
Gentle removal is key
- Use a mild, rinse-off cleanser with lukewarm water.
- Avoid cloths or vigorous wiping.
- Pat dry; never pick at flakes or crusts — this can delay healing and increase pigmentation risk.
Helpful items to have on hand
- Instant cold or gel packs (first 24–48 hours).
- Fragrance-free hydrating balm/occlusive (if approved).
- Colour-correcting palette: green, peach/orange, pink/red, lavender.
- Transfer-resistant body makeup.
- Clean tools: freshly washed brushes or disposable sponges.
Quick application guide
- Ensure the skin is intact and cleared for makeup.
- Apply a thin layer of the appropriate corrector only on discolouration.
- Tap on foundation or concealer that matches your tone.
- Build coverage in sheer layers.
- Set lightly (only if aftercare allows powders).
- Once permitted, apply SPF daily — UV can deepen lingering pigmentation.
When to contact your practitioner
- Rapidly worsening swelling.
- Spreading redness that feels hot.
- Severe pain, pus or fever.
- Any red flags noted in your aftercare.
Camouflage is for appearance only — it should never hide signs of infection or complication.
Conclusion
With the right timing, gentle formulas and smart technique, you can soften redness and bruising while your skin heals. For personalised aftercare and treatment advice, the team at Borciani London is here to support you at every step.
Best Cleansers post treatment
And for the ultimate in reducing downtime and improving the outcome of treatments:
